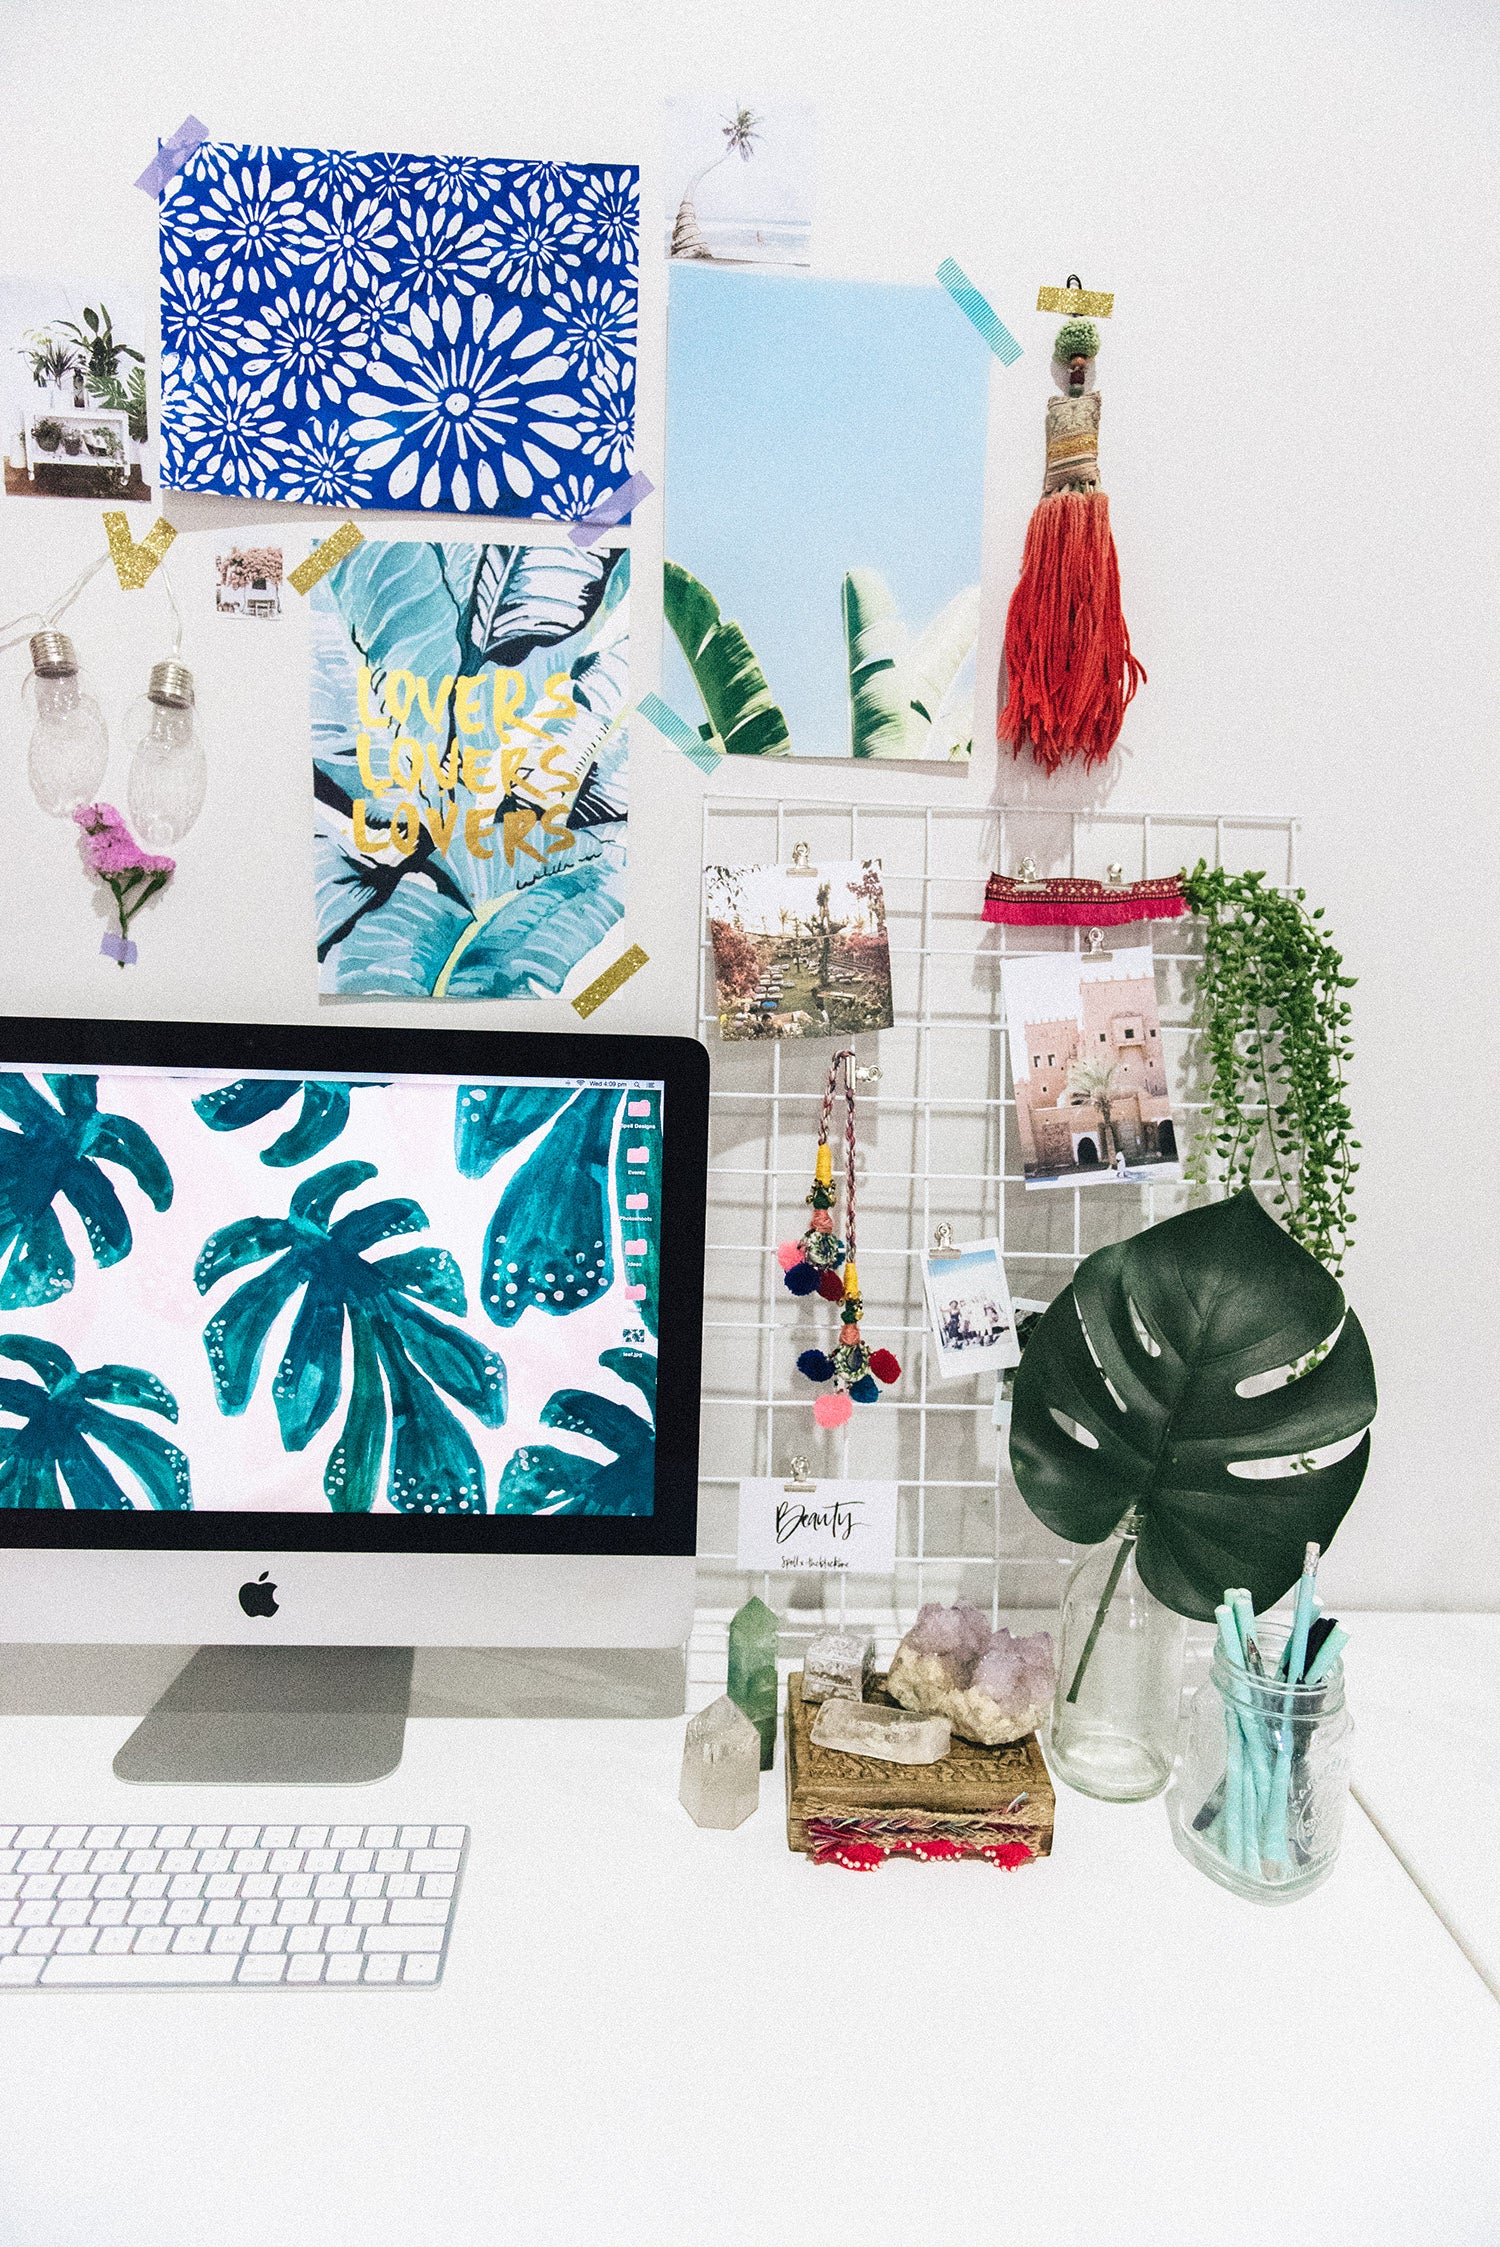


We wanted to create a workspace that inspired us, a desk that we were excited to arrive at in the morning and work hard at all day. These desks show the personalities of two of our Spell Angels – we’ve applied the same basic steps when making over their desk space but ended up with very different spaces, true to their unique styles and tastes. We hope this inspires you to makeover your own workspace!
Step 1:
Clean your space. Take a step back and remove everything from your space giving you a clean palate and a fresh start. Wipe down your desk, dust off your key board, and clean your monitor screen.
Step 2:
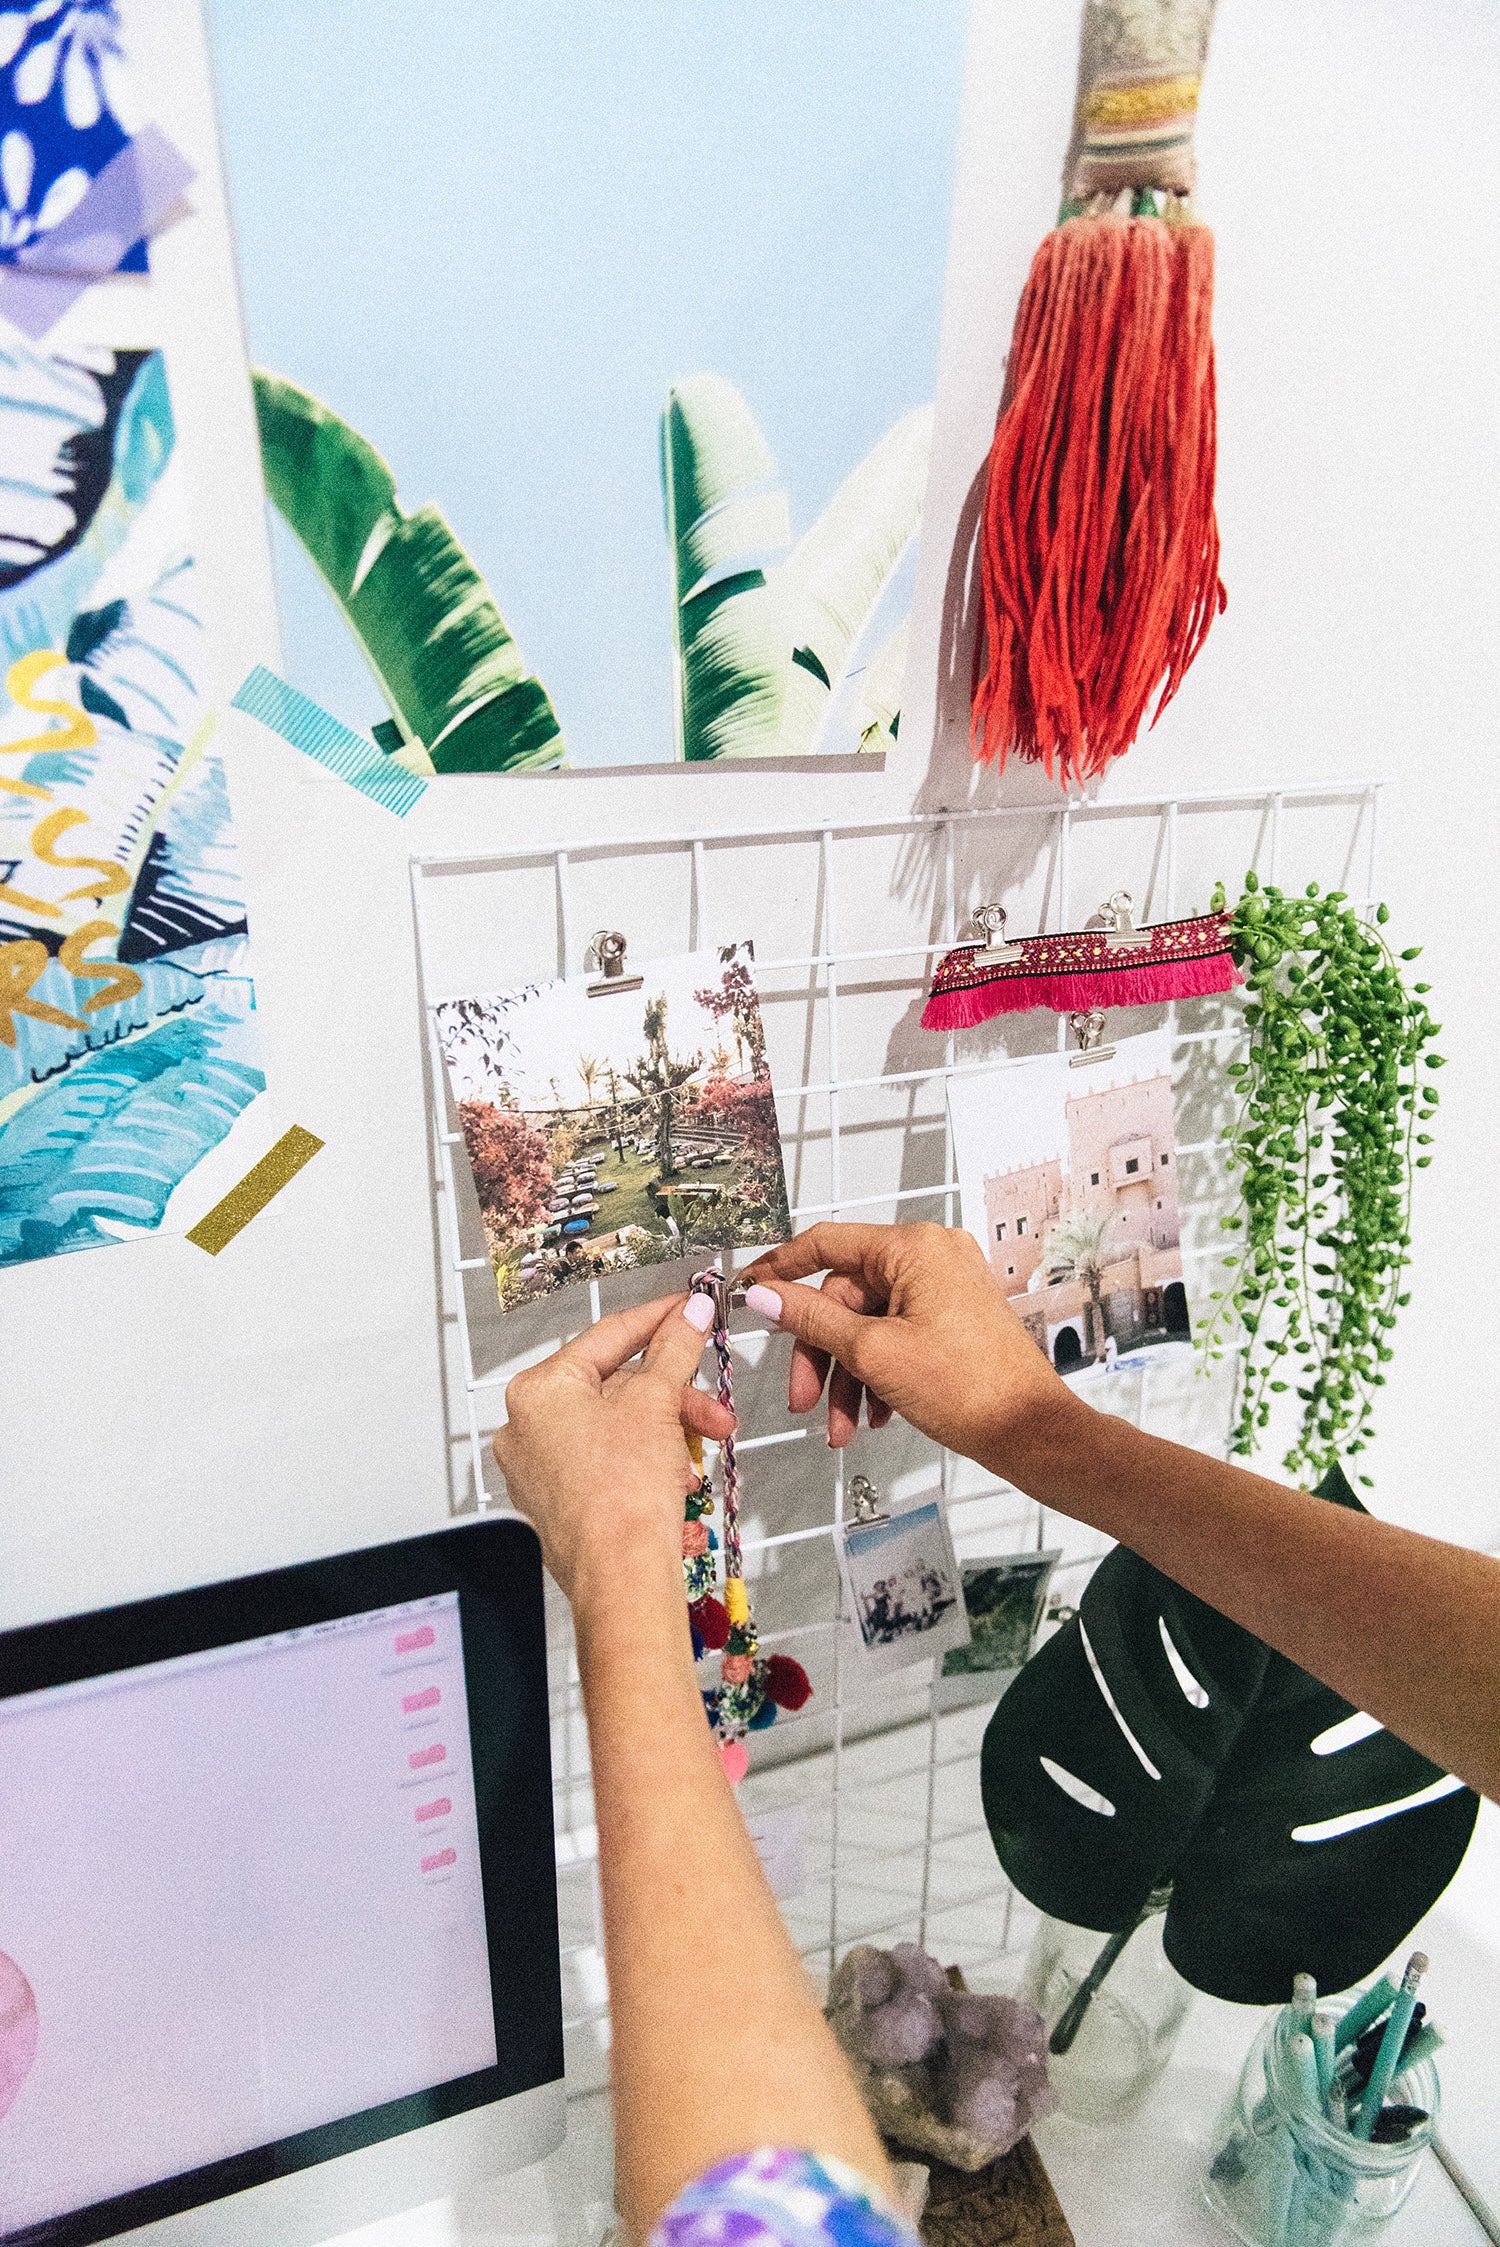
Put the essentials in place so you can build the rest around them. Place your computer and chair in what feels to be the most natural and comfortable spot at your desk. This may be dead centre, to the left/right – there’s no right way to do this so trust your intuition. A magazine holder is useful for storing notebooks and regularly accessed documents. We also DIY’d a wire display frame as we wanted something on our desk that was multi functional, and we could easily clip, hang and display trinkets, photos and information, without having to actually attach anything to the wall. (Full DIY instructions below).
Step 3:
Decorate your wall. If your desk has any wall space around it use it as an inspiration board! We used some of our favourite prints from Peppa Hart, a few travels pictures and some images printed from our Pinterest Board.
Step 4:
Get green – not only will your on trend plants looks uber cool, they’ll help to purify the air around your desk. The more oxygen getting to your brain the more switched on and creative you’ll be. Succulents trimmings grow in water, put a few clippings into an old jar and watch the roots grow. Fresh flowers are also the perfect addition to your desk space.
Step 5:
Candles + Light. Ideally your desk will be positioned with lots of natural light, but if not consider adding a desk lamp or taping festoon lights to your wall to make your space a little brighter. Tantalise your senses and add a candle in your favourite scent – there’s something so relaxing about burning a candle whilst you work.
Step 6:
Make it yours – add photos of loved ones, worldly treasures, crystals and trinkets to give it your own touch.
Step 7:
Accessorise – cute stationary that fits with your theme will complete your desk (and if you’re anything like me, you’ll be super excited to use it so it to get more organised!). Use a jar, antique brass cup, or another vessel to store some pens and go to stationary on your desk for easy access.
Step 8:
Pimp your desktop! Your screen probably takes up a huge chunk of your desk, choose an image that you love to display on your screen. There are so many good downloads online – we picked ours here: http://www.designlovefest.com/2016/01/dress-your-tech-127/#more-46921 With this many to choose from why not change your screen saver every 2 weeks to mix things up and keep your desk exciting!
xx
DIY – Wire display frame
We wanted something on our desk that was multi functional, and we could easily clip, hang and display trinkets, photos and information on, without having to actually attach anything to the wall. A wire wall frame that leans against the wall seemed liked the perfect option.
We set out to make one frame, but our hardware store only had big pieces of the metal cage so we opted to make two in different colours to suit our desks.
How to make your wire display frame:
1- Purchase a piece of wire garden caging from your local hardware store. Our frames are 60cm x 40cm, but you may need to modify to suit your space. We cut ours in half using bolt cutters, and then snipped to the closest vertical line to neaten up the edges.
2- Lay your frame out on cardboard or painters drop sheets. Spray paint one side in a colour of your choice – we used white for one and metallic copper for the other to go for a rose gold look. One that side has dried, flip your frames and apply the spray paint to the other side. You may need to do two coats on each side if the first coast dried unevenly.
3 – Once your frames have dried they are ready to prop up against your wall by your desk and decorated!